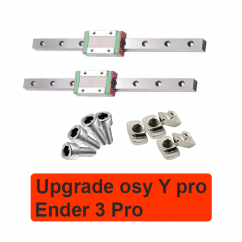
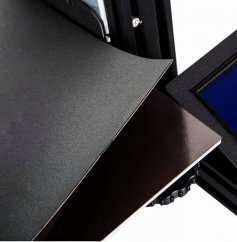
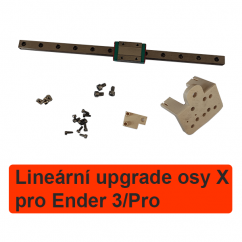
This linear guide kit for Ender 3 Pro will help you achieve more accurate and faster printing with a linear rail that is far more precise than POM wheels moving along the profile. The Ender 3 Pro Upgrade is the complete package you need to install linear rails on the X-axis.
This upgrade is for the X-axis of the printer only. Attention, this improvement reduces the size of the Y axis by about 19mm.
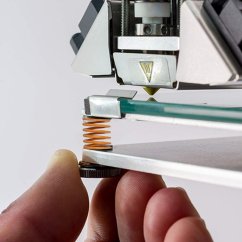
1. We remove the hotend cover and then the hotend 2. We remove the POM wheels from holding the hotend and unfasten the belt
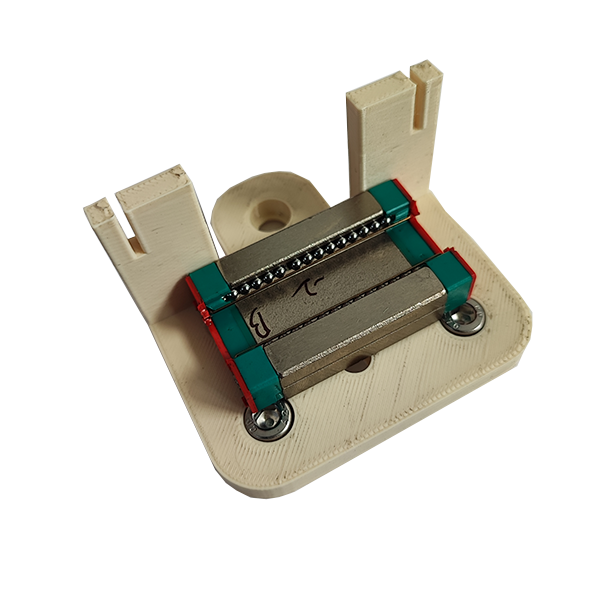
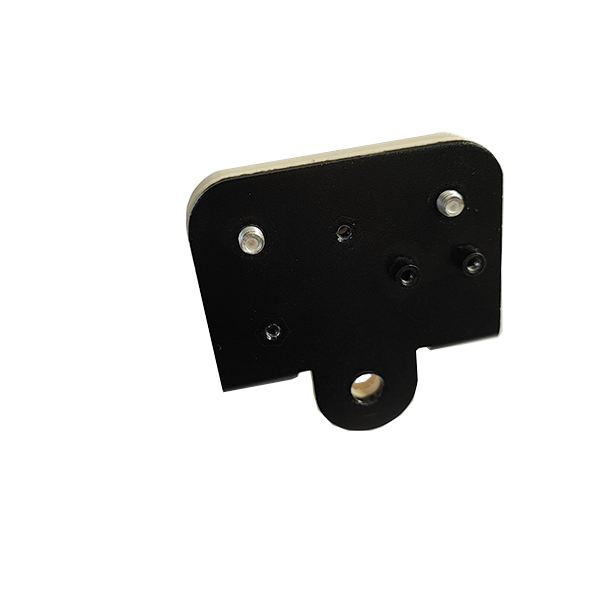
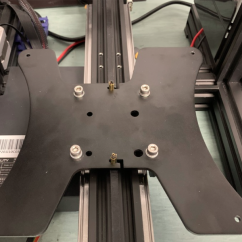
3. Insert 2 M5 screws into the adapter from the package, then put on the MTN12H carriage and fix it with M3x8 screws
4. We'll add the last M5 screw and secure the adapter to the hotend holder board using the nuts we removed from the board in step 2.
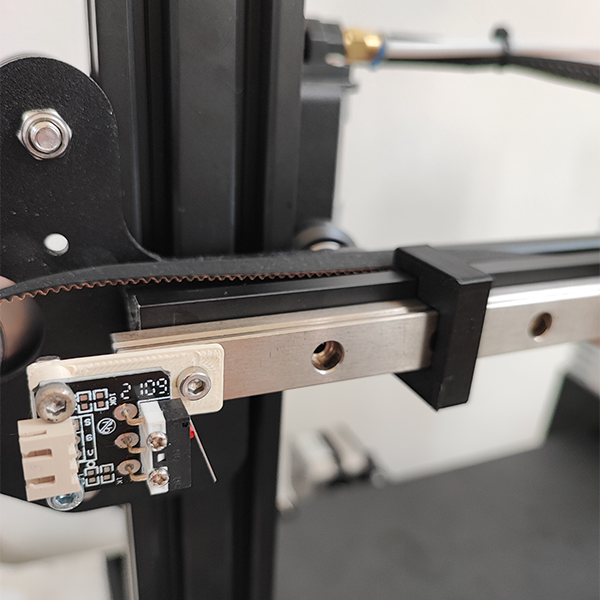
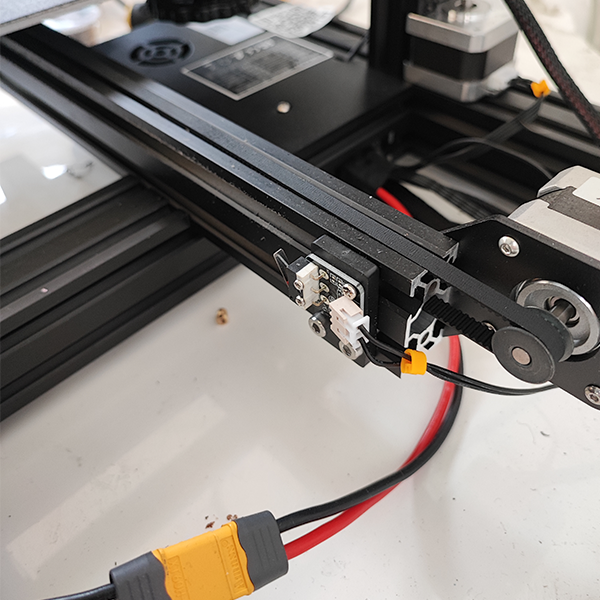
We remove the endstop cover on the left side of the x-axis, be careful, the same screws also hold the x-axis motor. We attach the motor back with M3x8 screws. We remove the endstop, we fix it on the rail using the endstop adapter on the leftmost hole of the rail with an M3x12 screw.
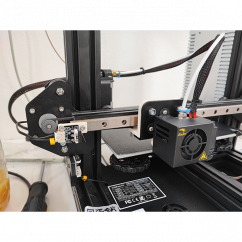
6. We will prepare a rail with T-slot nuts and M3 screws, one attachment in the center and the rest on the edges, we will slide the trolley onto the rail. 7. Using the fixture for installing the linear guide, we put the rail on the aluminum profile of the X axis and tighten the screws. Attention, the rail must be placed to the left so that the screw holding the endstop is still caught in the profile.
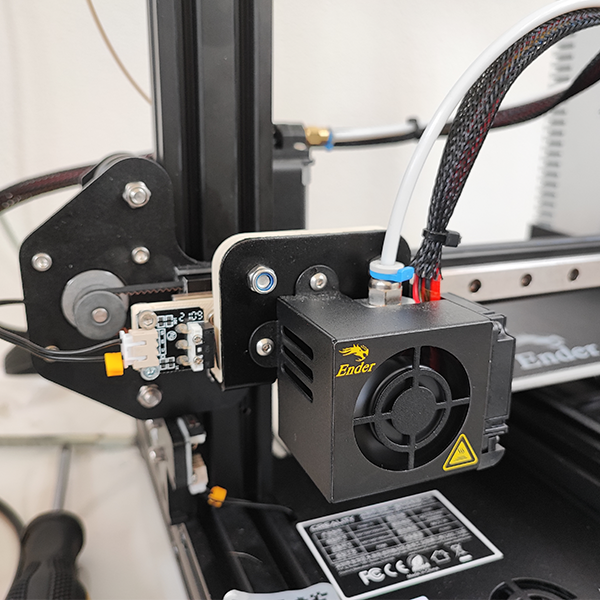
8. We can put the hotend with the cover back on the board.
9. The last step is to move the endstop of the Y axis, we will move it closer to the control unit (forward) by 19mm, then we will try Auto home, the nozzle should be on the edge in the left corner as it was before the adjustment, if it is not perhaps move the endstop of the Y axis by the given difference.