Best upgrade for Prusa i3 MK3S/MK3S+
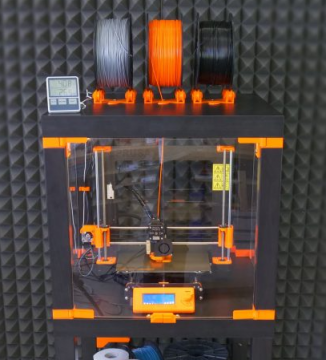
The 3D printer Prusa MK3S could build an imaginary display case for its trophies because since the beginning of its production it has managed to:
- to win the title of “Best 3D Printer” on the ALL3DP website
- it is among the best-rated 3D printers and is also an "editor's tip" in the Digital Fabrication Guide 2019 selection of the prestigious MAKE magazine
- it was also ranked in the list of the best 3D printers of 2021 on the TechRadar website
- they praised her in the NY Times
- According to ZDNet, the MK3S is the "Best 3D Printer Under $1,000"
These are perhaps the reasons why printers from the 3D world liked her. And this despite the fact that it has a slightly higher price than competing printers. Thanks to how widely it is used, printers and the Prusa team come up with new upgrades that can improve the printer itself or provide additional functions. There are countless gadgets and improvements that are common to 3D printers. Therefore, this article is focused directly on upgrades for the MK3S and MK3S+ printers from Prusa. Let's look at them together.
Multi-Material Upgrade 2S (MMU2S)
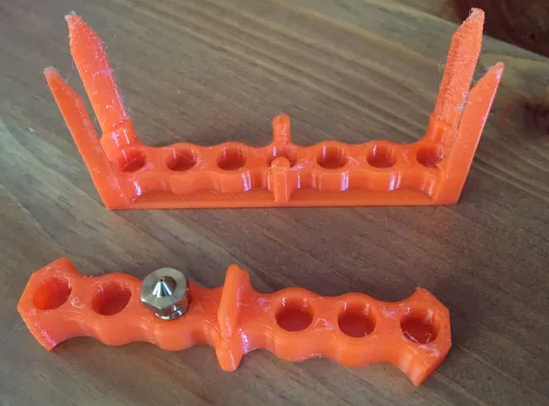
The Multi-Material Upgrade 2S (MMU2S) comes directly from the official Prusa workshop. Thanks to this improvement, you will be able to print on your printer with up to five filaments at once. Which means that you can combine colors, but also different materials, directly during printing. If you just had images in your head of what could be conjured up on the printer with this gadget, you will surely be pleased to know that this is already a modified version of the original upgrade Multi Material Upgrade 2.0., with which some users reported problems. Add-ons that have been improved to make them easier to use and more reliable include:
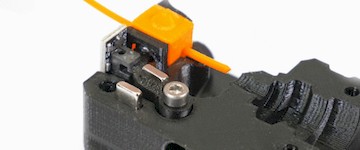
- new filament sensor (recognizes if the filament is introduced into the unit and also if it has reached the Bondtech wheels in the extruder)
- filament tray (prevents filament tangling and allows all five spools of filament to be placed more freely on the work surface)
- simplified calibration process
|
New filament sensor |
Filament tray |
 |
 |
The MMU2S upgrade underwent a detailed two-month testing before being launched on the market. If you decide to try the upgrade, keep in mind that it will come in the form of a kit and you will have to put it together yourself. Even the printing itself with so many filaments can sometimes be a bit complicated, so it requires strong nerves, but it's definitely worth a try.
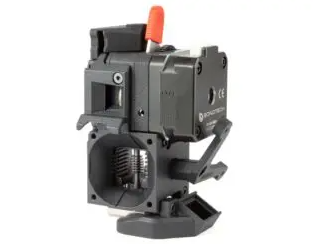
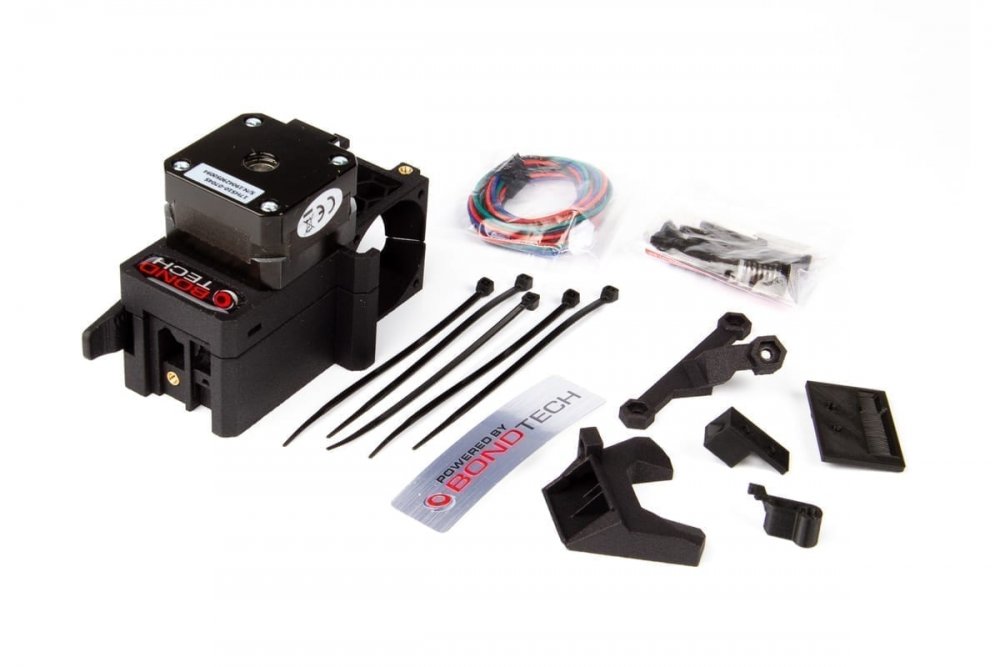
Bondtech
An upgraded Bondtech kit is available in the market which is lightweight (weighs only 266g). Thanks to the weight reduction, vibrations and ghosting on prints are minimized.
Other extruders worth mentioning include: Bondtech LGX for MK3S & Mosquito and Bondtech LGX Shortcut Copperhead for Prusa MK3S.
Bondtech upgrade kit for Original PRUSA MK3S printers |
Bondtech LGX Shortcut Copperhead for Prusa MK3S |
Bondtech LGX for MK3S & Mosquito |
|
|
 |
 |
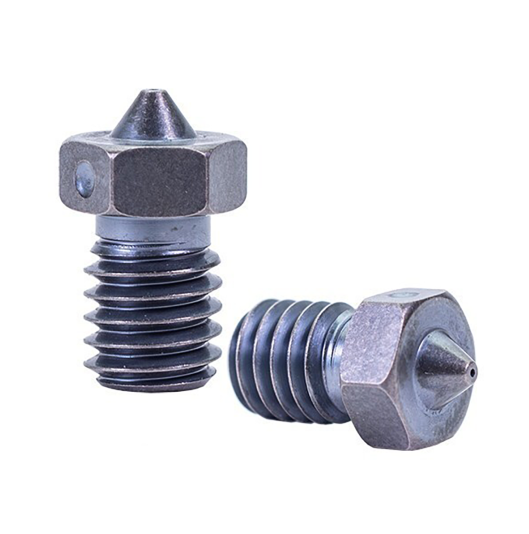
E3D nozzles
|
The advice is: try, change, experiment. Thanks to this, you get the possibility of greater flexibility in printing. In the basic version of the MK3S and MK3S+ printer, you will find the E3D V6 hotend, thanks to which there are many possibilities to exchange and test parts. With small diameter nozzles, you can print small prints with fine details, and on the contrary, with a large nozzle, you will save time when printing a bulky model. In more detail, it is worth mentioning the X E3D V6 nozzle, which is made of tool steel that is nickel-plated and hardened. This material will help the nozzle maintain high hardness even at high temperatures. And you don't have to be afraid to use it even when printing with abrasive materials (such as PETG Carbon), which cause abrasion with ordinary nozzles. But the fact remains that you pay extra for this type of nozzle. |
 |
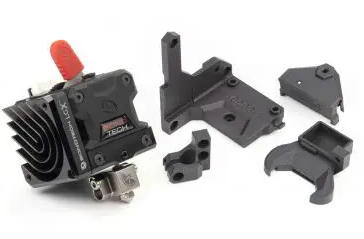
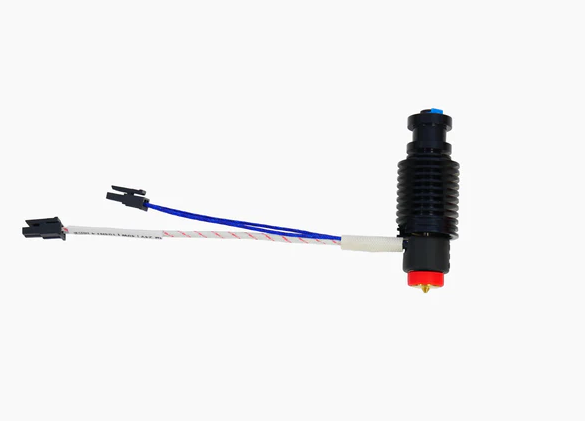
E3D Hotends
Just as you can change the nozzles, you can directly replace the entire hotends and thus ensure faster printing or a more convenient replacement of nozzles. Instead of the basic equipment of the E3D V6 hotend, Volcano is offered, which increases the volume flow and enables faster printing. The heating cartridge and thermistor are the same, but you will need the Volcano HeaterBlock and nozzle. Or you might be interested in the Bi-metal heatbreak E3D V6, which consists of two components with different thermal conductivity - steel and copper. Steel has the task of slowly removing heat from the heatblock, copper ensures faster heat dissipation towards the cooler - heatsink.
|
Another option is the Revo Prusa MK3 Edition (from the RapidChange Revo series), which was launched in 2021. Thanks to an easier way to change nozzles and a new heating block that reduces the risk of heat leakage, the Revo has gained popularity. You may need to make sure your printer voltage is compatible with this model, however the Revo hotend has been designed by E3D to allow easy upgrades for Prusa MK3 printers. |
 |
Wireless connection
If you are attracted by the vision of wireless monitoring and printing, there is a solution for you too.
|
Along with the launch of the MK3S printer came a new Einsy Rambo motherboard that supports direct Raspberry Pi Zero W integration. With a few printed pieces, you can plug the Pi into the back of the printer motherboard and run OctoPrint with some limitations. This will enable powerful print control over a wireless internet connection. But it is worth mentioning that there were performance issues when running OctoPrint on the Pi Zero W. You can find more information in the official guide from Prusa. |
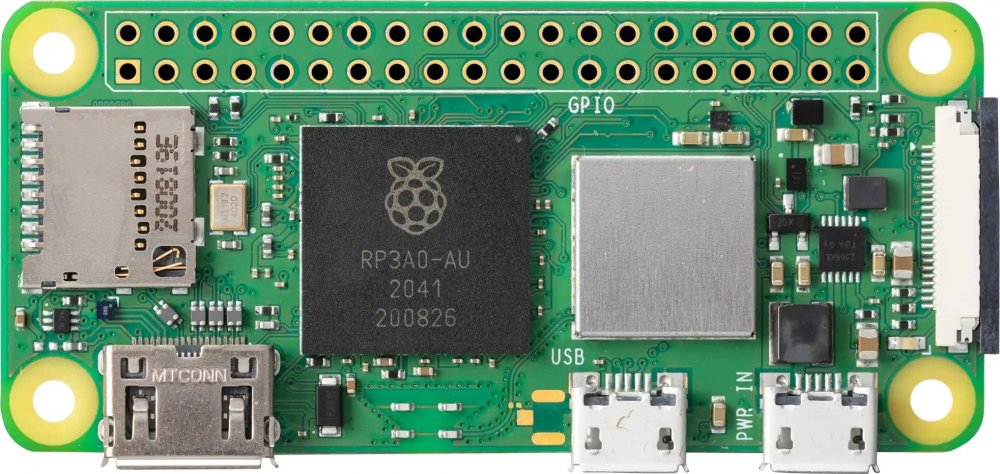 |
While the Raspberry Pi Zero W can be easily integrated with printer hardware, the OctoPrint developers officially recommend the 3B, 3B+, 4B or Zero 2. These Raspberry Pi models better support OctoPrint and third-party plug-in features. Due to their larger size, you will need to find a way to attach the MK3 Raspberry Pi to the printer.
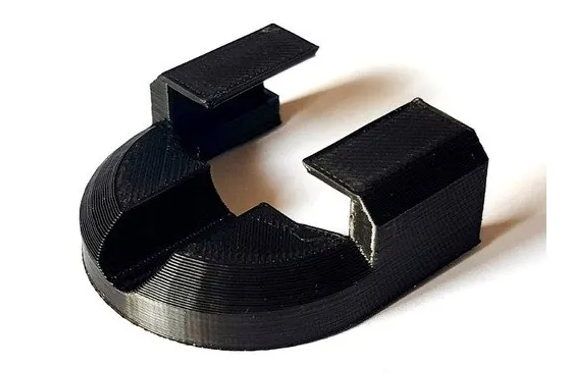
Surveillance camera
|
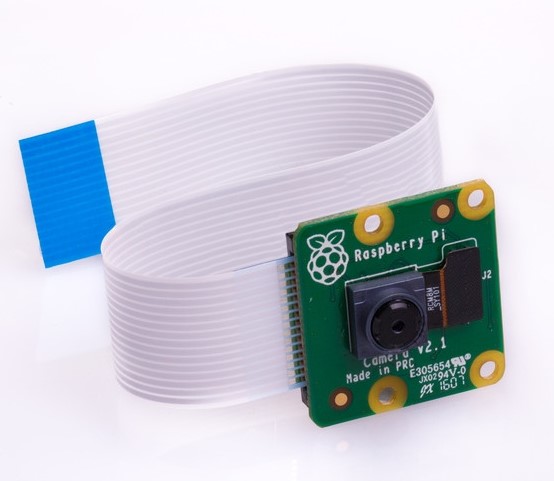
If you are afraid to move away from your printer while printing, you might be interested in a surveillance camera. After all, even such high-quality printers as the Prusa MK3S and MK3S+ can experience a defect during printing. A surveillance camera with appropriate software (such as OctoPrint) offers a solution. You will find a range of cameras in the market in different price ranges. Among the favorites is the Raspberry Pi camera. Whichever you choose, you'll need a bracket to mount it so it can properly capture the print area. |
 |
YZ case
|
Access to the motherboard on the Prusa i3 MK3S/MK3S+ printer is not quite ideal as the board is angled towards the printer. That's why an upgrade was created in the form of the YZ cover, where the base plate turns 180°. This creates more convenient access to the board for possible repairs or modifications. The case also functions as a support for the frame and thus ensures greater stability for the printer. You can print the cover yourself, just get inspired by the project on printables.com. Even the project itself has already gone through changes, as some users pointed out problems with cable attachment. |
 |
Filament conductor
|
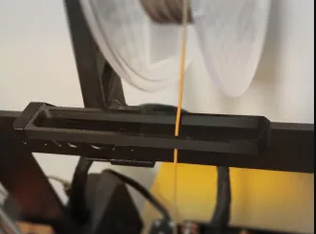
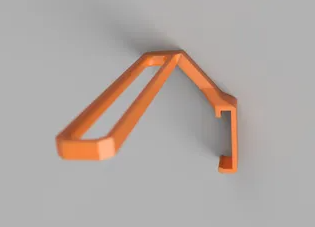
The modified filament guide ensures a smooth filament path from the spool to the extruder. The wire is attached to the top of the printer frame. Due to its sufficient size and rectangular shape, it will keep the filament in the right place even if you print with multiple filaments at once. This is another upgrade that you can print yourself, the instructions for it (including detailed information on printing) can be found right here. |
 |
 |
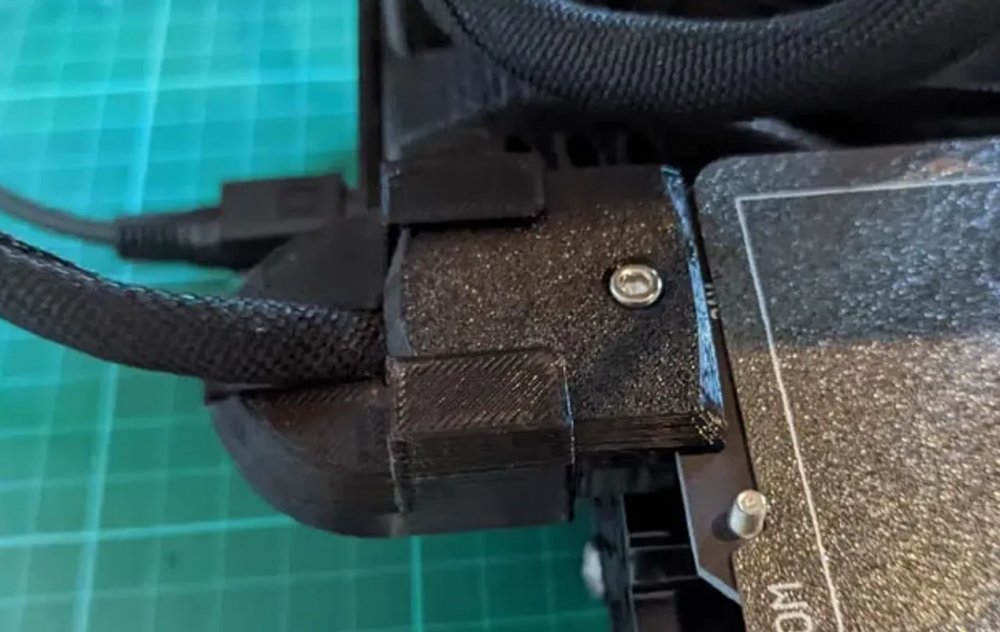
Cable holder for heated pad
|
Some users have reported a problem with the cable leading to the heated pad - after a while it started to sag and touch the frame of the printer. And that was the reason for the upgrade in the form of a simple cable holder. Its printing and installation will be absolutely simple, just look at the instructions that are prepared here. |
 |
 |
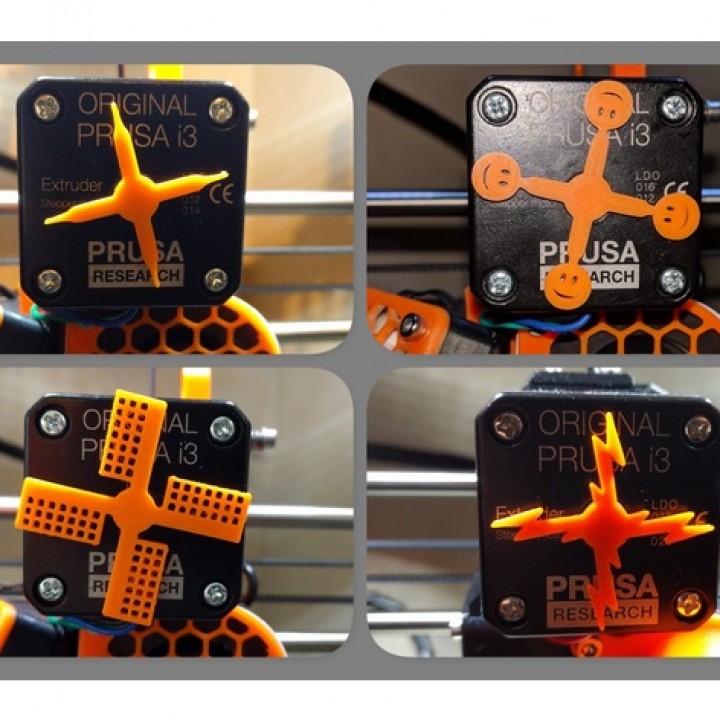
Engine rotation indicator
|
It's a gimmick that has more of a visual reason, but could still excite some users. The extruder motor is fixed to the printer in a clearly visible place. Behind the motor cover, the axis rotates, which pushes the filament through the nozzle. You can mount the indicator from the other side of the motor and observe the axis rotation speed to verify that everything is running as it should. After printing the indicator on its raised side, stick the magnet with glue and fix it on the extruder. You can play around with the design of the indicator vanes. Tips on what the indicator could look like are waiting for you on the myminifactory.com. |
 |
Sturdy legs
|
The feet, which are included in the basic equipment of the printer, are relatively soft. This can cause the printer to vibrate during printing, and as a result, the printout could be damaged. This problem is solved by printable feet, which are designed to reduce the vibration of the printer and keep it in place. You can read the instructions for printing on Thingiverse. |
 |
Fastening to the legs
|
And if you don't want to start replacing the legs right away, there is another option - to install fixings to the legs. The falling off of the rubber feet every time the printer is moved can lift many a printer out of his chair. If this happens to you too, you will definitely be pleased with the following gadget - a fastener that can lock the legs in place. You can print and install it in just a moment and save yourself a lot of stress. Print instructions are right here. |
 |
 |
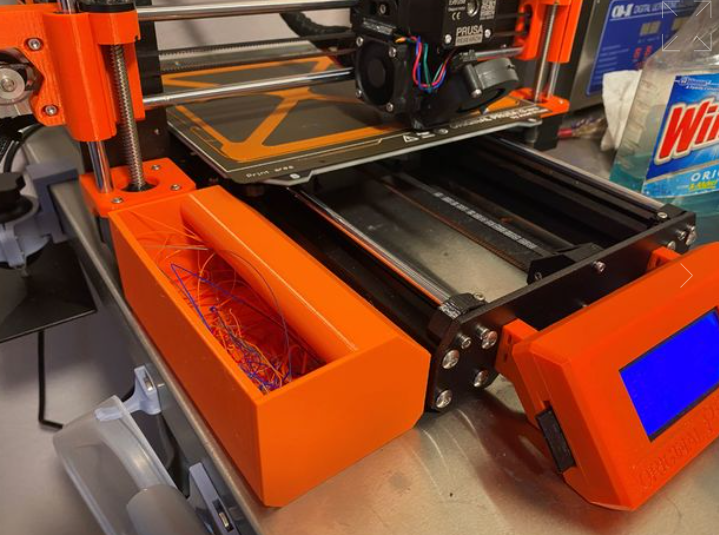
Side organizer
If you're one of those people who likes order in everything, definitely don't miss this upgrade. These are organizers that will ensure that you have order around your printer at all times. The organizers are also designed including a lid, for which different designs are prepared in the instructions. On one side of the printer you can put an organizer with a solid bottom, which can be used as a trash can for unnecessary filament, and on the other side an organizer with a perforated bottom. This will be useful for storing various accessories or tools for the printer. You will also find holders for SD cards or nozzles with the instructions for printing the organizer.
 |
 |
 |
 |
Printer box
|
Another accessory that you could add to your 3D printing equipment is a printer box. There are several reasons why you should decide to buy a box:
You can find an article directly on the Prusa website that deals with the production of a printer box (you can view it here). This box combines printable material, furniture and accessories from Ikea. In the article, you will also find which electronics you should use and which tools will be useful for making the box. And for those who don't have the time or desire to build their own box, Prusa has a simple tip - a photo tent that you don't need to modify in any way and will do its job. |
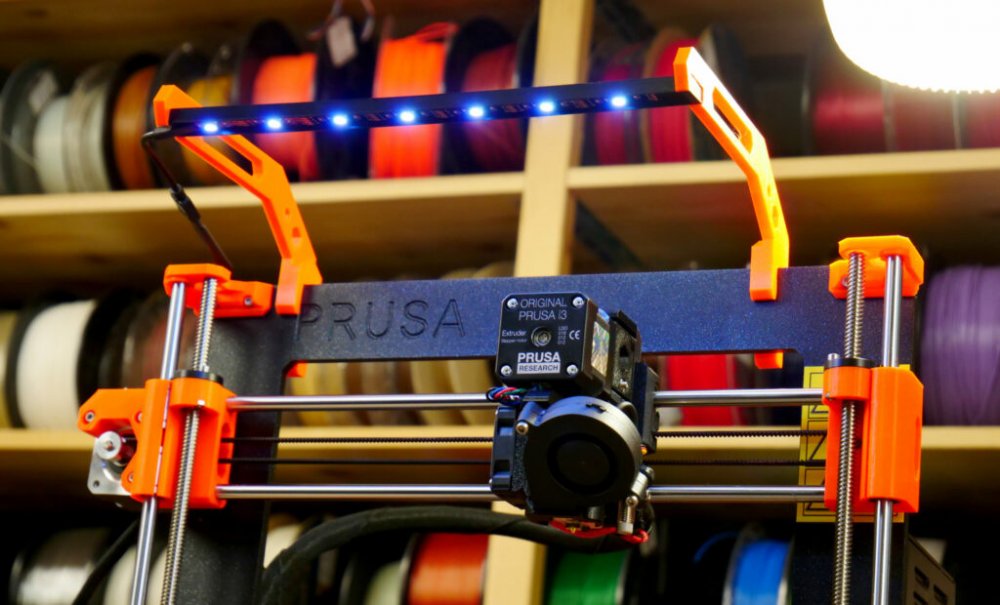
Printer lighting or let it be light
|
If you have a printer in a darker room, or if you get to print later in the evening or at night, you've probably already thought about how the printer could be better lit. You can use a classic lamp for this, but more practical will be LED strips that you can stick on the frame of the printer or print out holders specifically designed for LED lighting. Another option is to attach the light to the printer box. LED strips can be found in various electronics stores and are not expensive at all. You will find that with a well-lit printer, it will be easier to change the nozzle or do other maintenance. |
 |
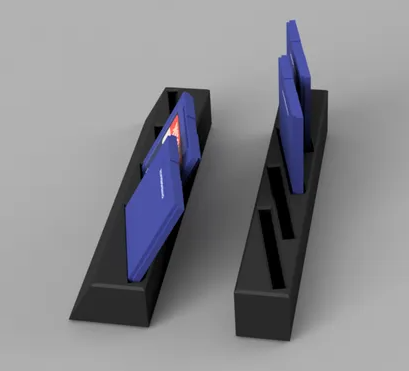
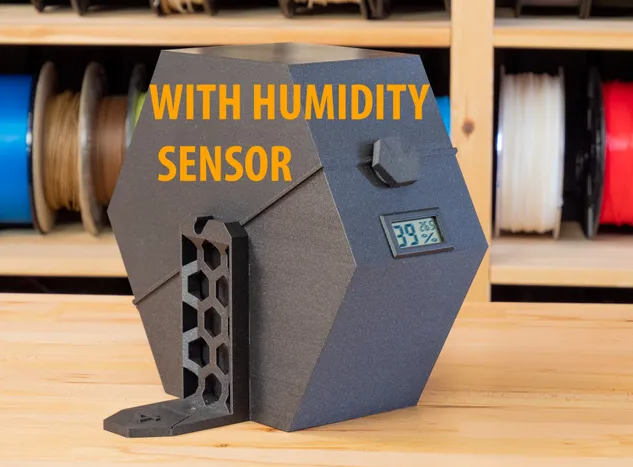
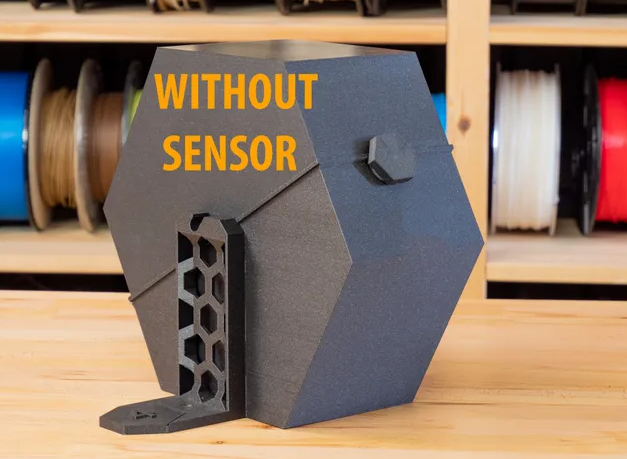
Drybox
Perhaps you have already verified yourself during printing how important it is to keep the filament dry. Some filaments are particularly prone to absorbing moisture. And printing with wet filament may not turn out well at all. We have detailed how to properly store filament and how to dry it if necessary in the article Drying filament and its storage.
Drybox is a special box designed to store the filament during printing, which ensures that the filament stays dry and does not absorb moisture. On the Prusa block you can find an article that deals with drybox. Drybox is one of the gadgets that can be printed. You will then need only a few small accessories such as screws and bearings to assemble, and the drybox, which also has an interesting design, is ready. You can choose from two options:
 |
 |
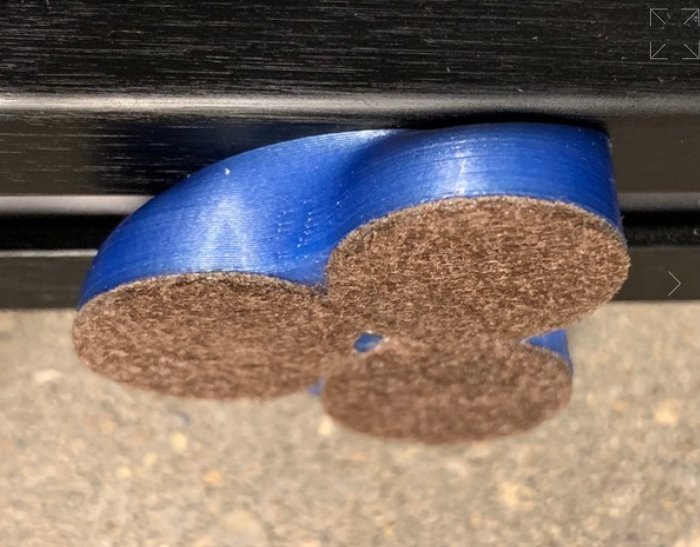
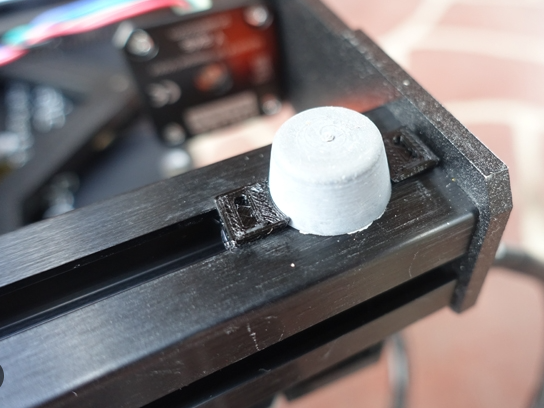
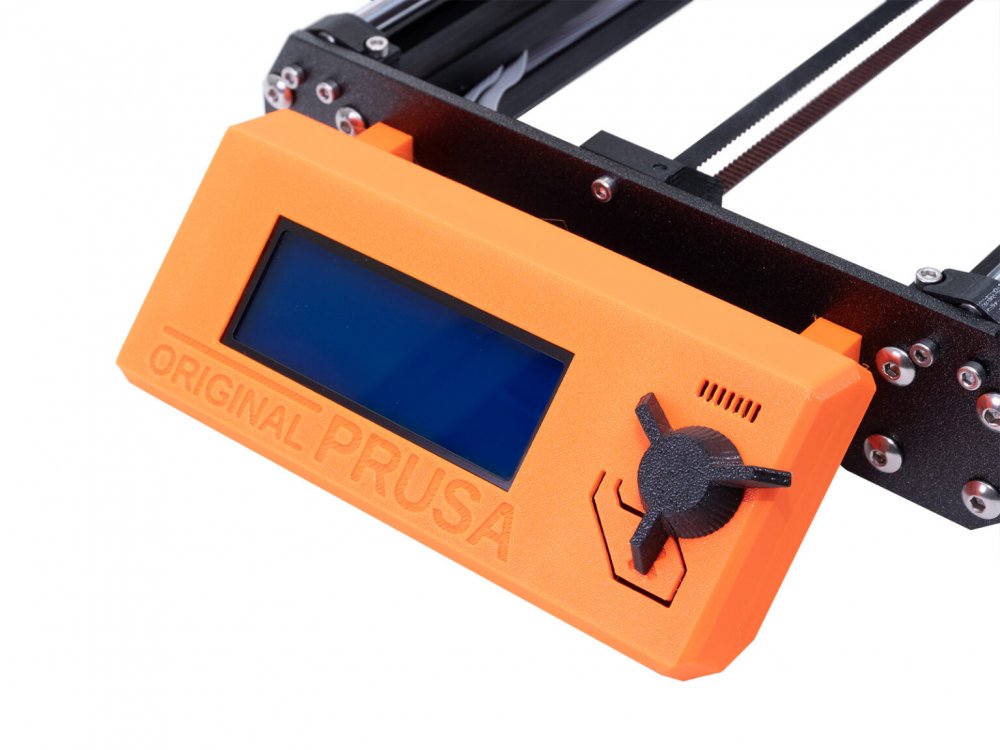
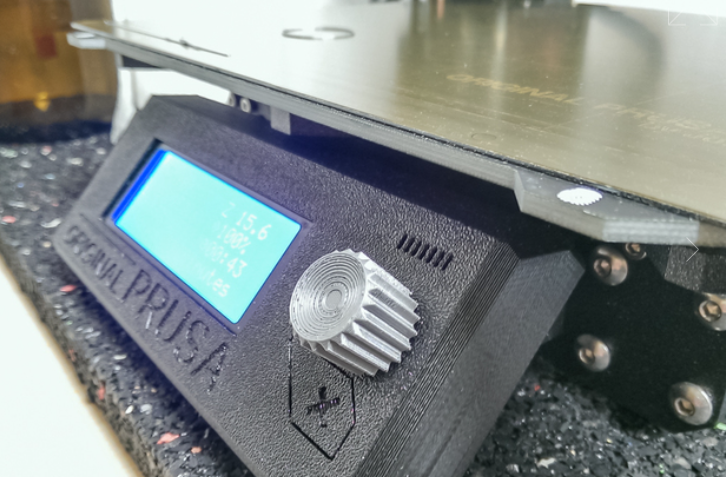
Rotary knob
If you are one of the users who did not like the rotary knob with three "blades", you will surely be pleased to know that you are not alone. There is an upgrade that allows you to print a new rotary knob that has serrations around its perimeter. This shape will make handling it more comfortable and accurate. It is tapered around its circumference and, like the original, has a depression in its center. Detailed information on the upgraded knob can be found here.
Original knob |
Upgraded knoflík |
 |
 |